Sunday 30 January 2011

eenie meanie...

After hearing from my husband that he wanted money for valentines day (yes money the old romantic!) I got a little worried at what I might be getting. So I thought some internet window shopping was in order! I know, I know such a hardship. :)

Anyway I've recently found Etsy.com, it is an internet shop where sellers who make their own products can list them. There is so much that is original (and not a teddy from a card shop!)and beautiful, so I thought I'd share a few of my favourites from UK sellers.


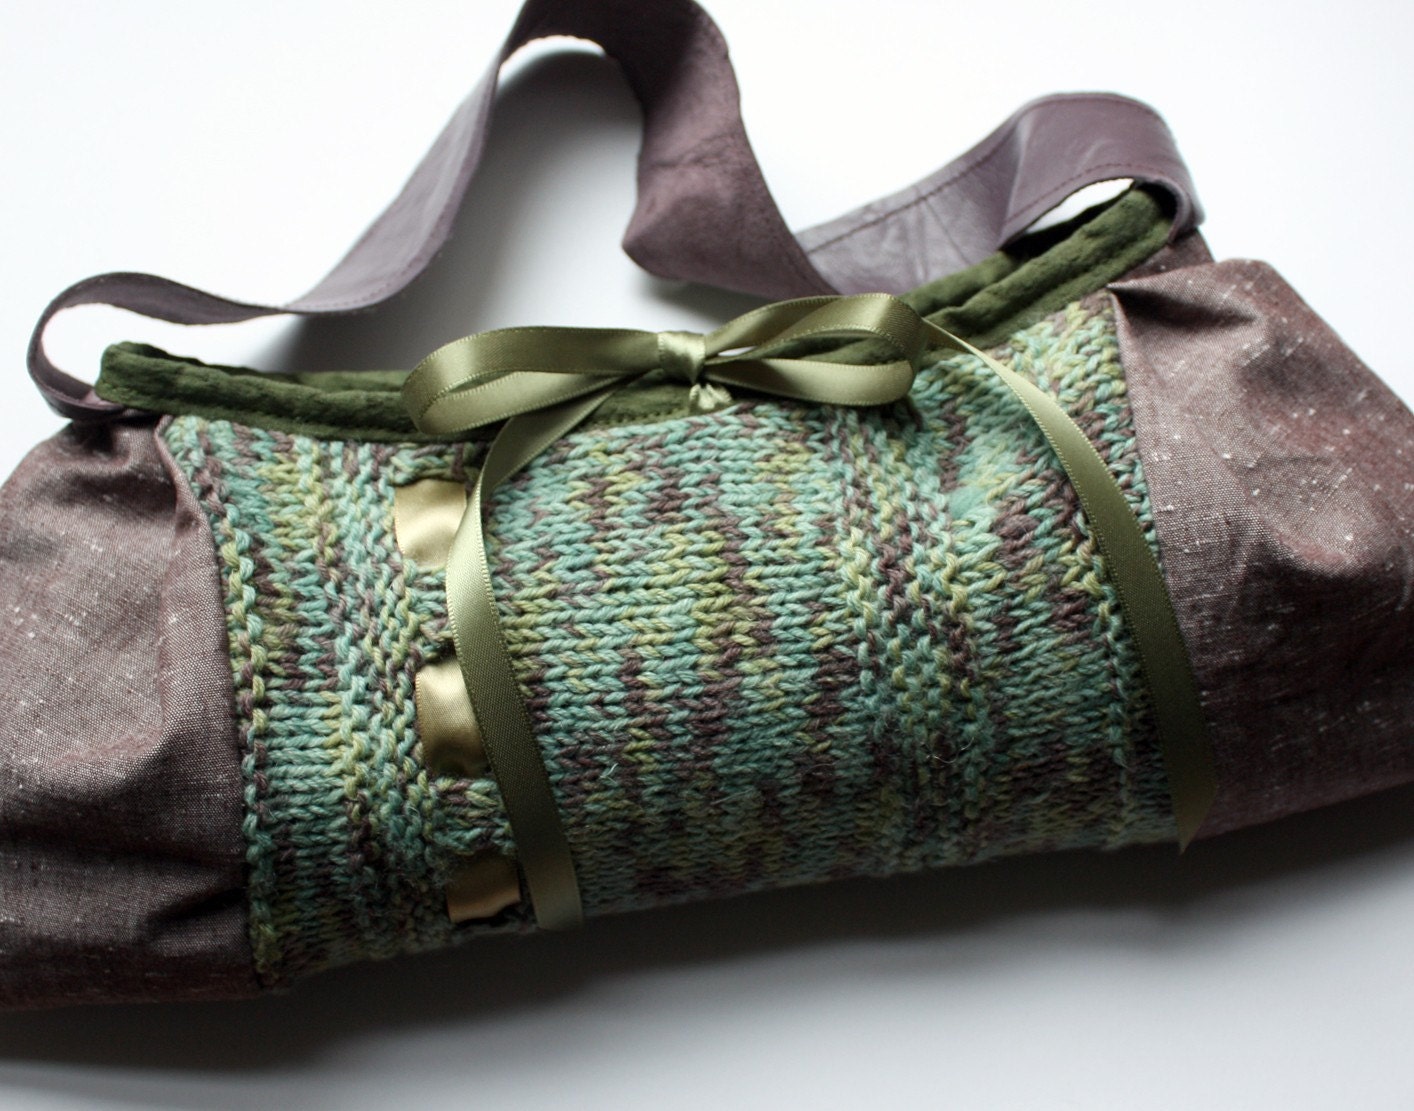
http://memake.etsy.com/ - Gorgeous and individual bags, part material and part knitted.


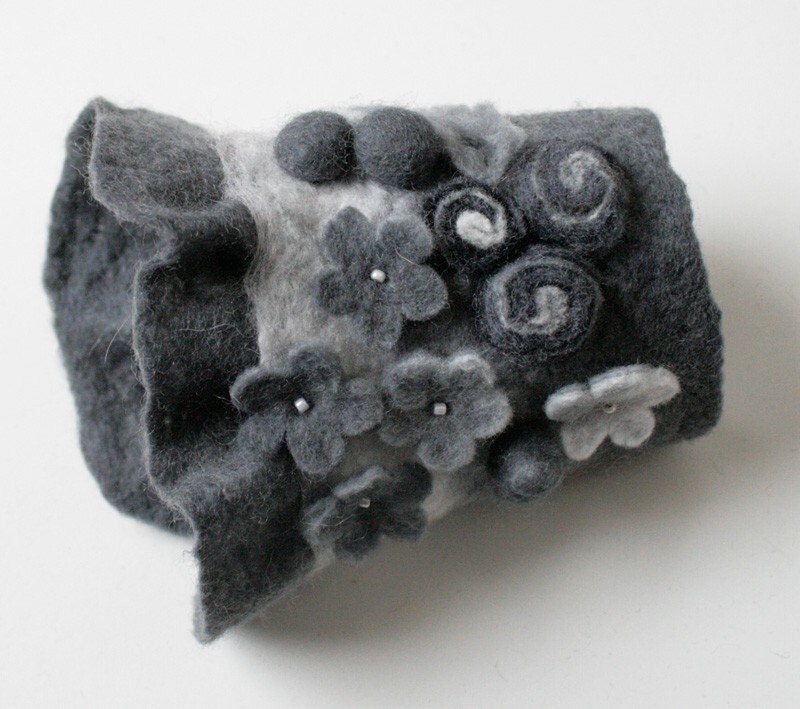
http://vixbrown.etsy.com/ - Stunning pieces made of felt, really intricate. I want a wrist cuff in every colour!


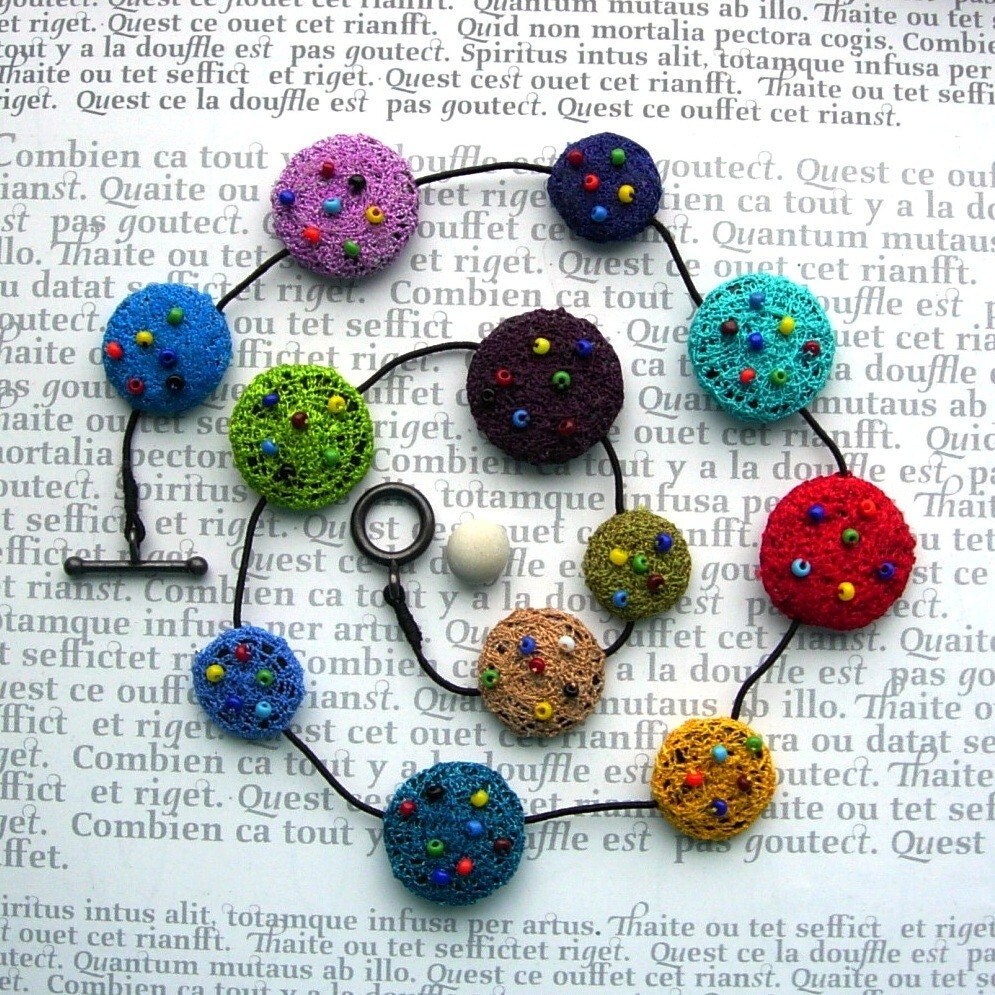
http://boxoftrix.etsy.com/ - Some really unique and unusual pieces of jewelry, love this coin necklace.


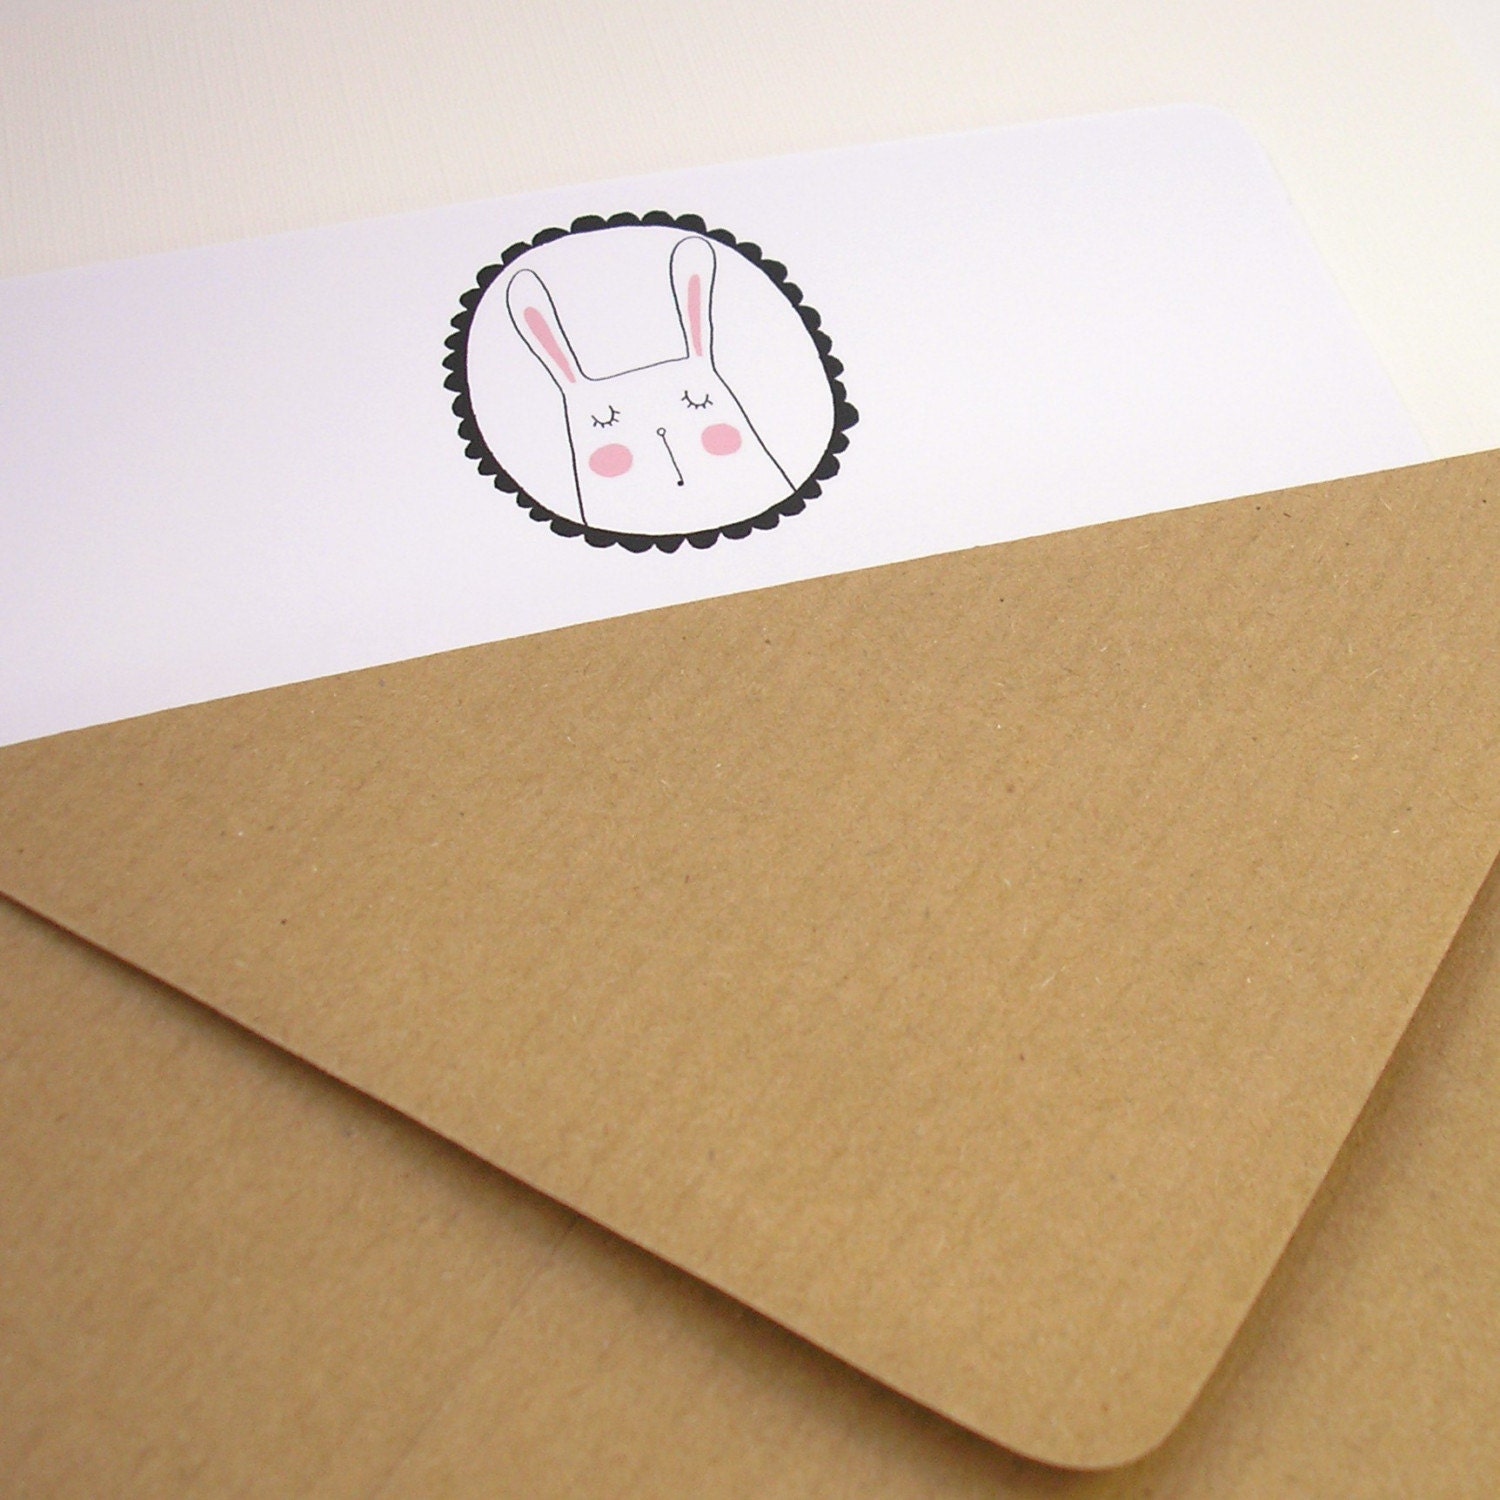
http://scatterboxoriginals.etsy.com/ - Really original notebooks and writing sets, great designs!


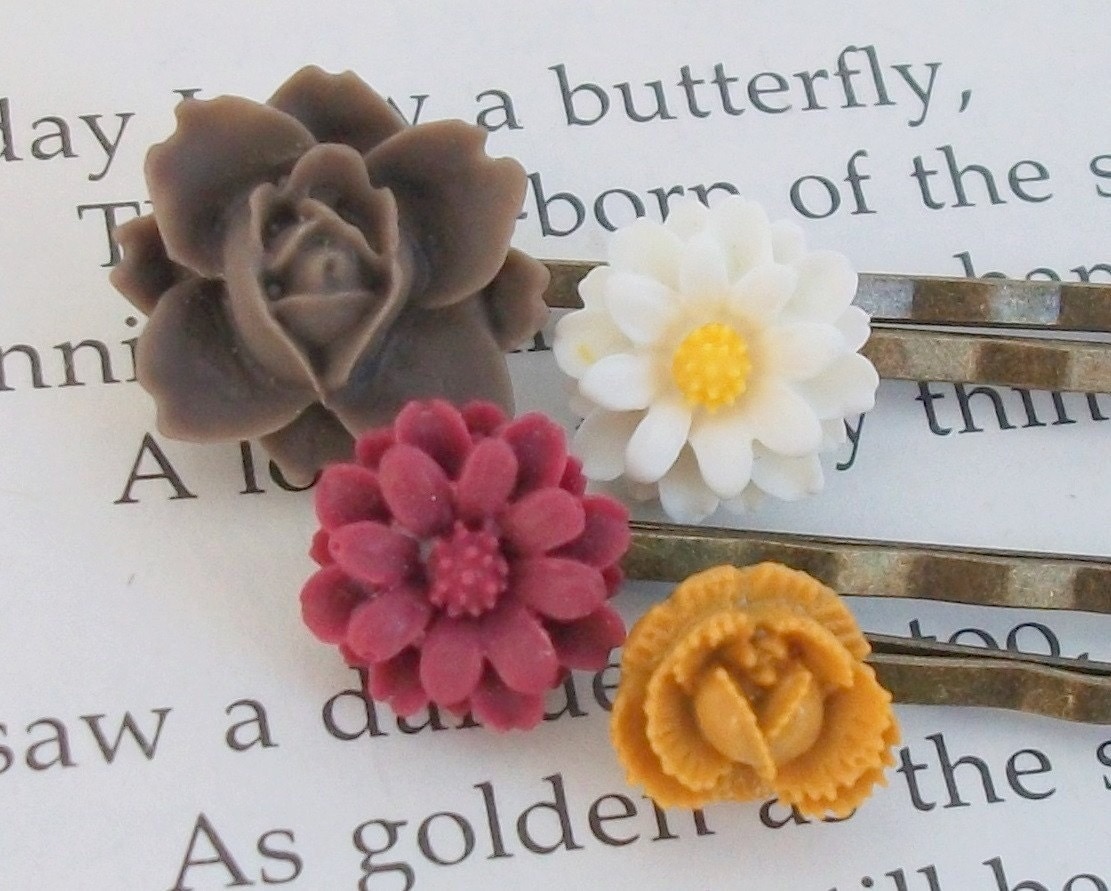
http://binageyer.etsy.com/ - This was my best find! They have stunning slides and jewelery, delicate and beautiful.


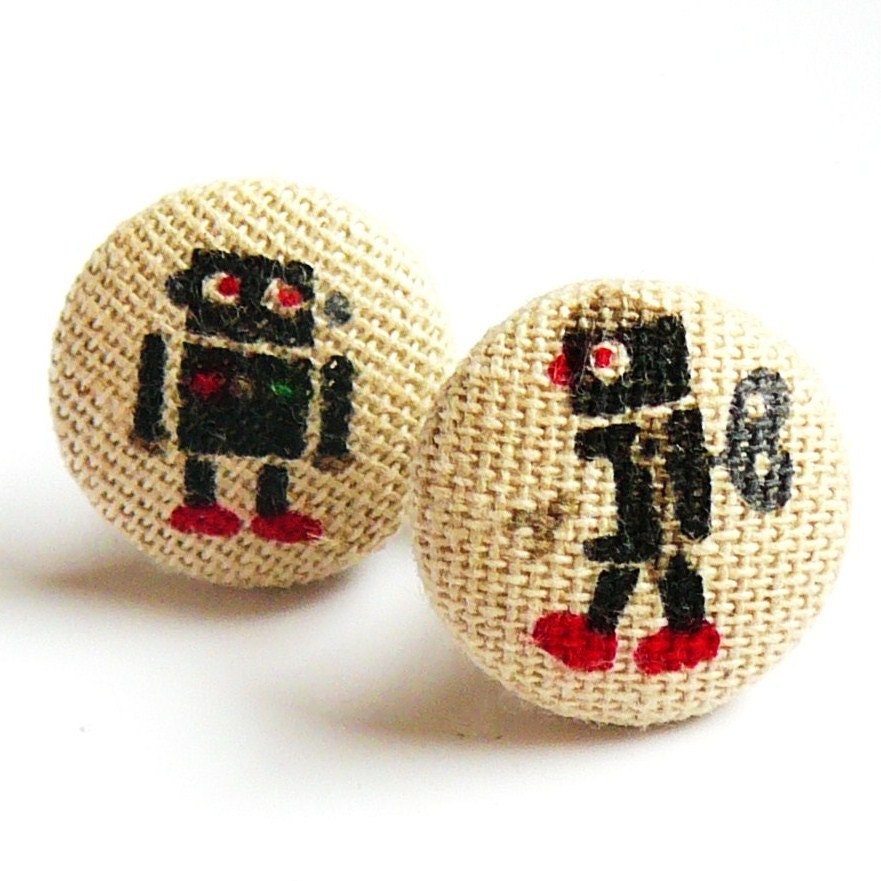
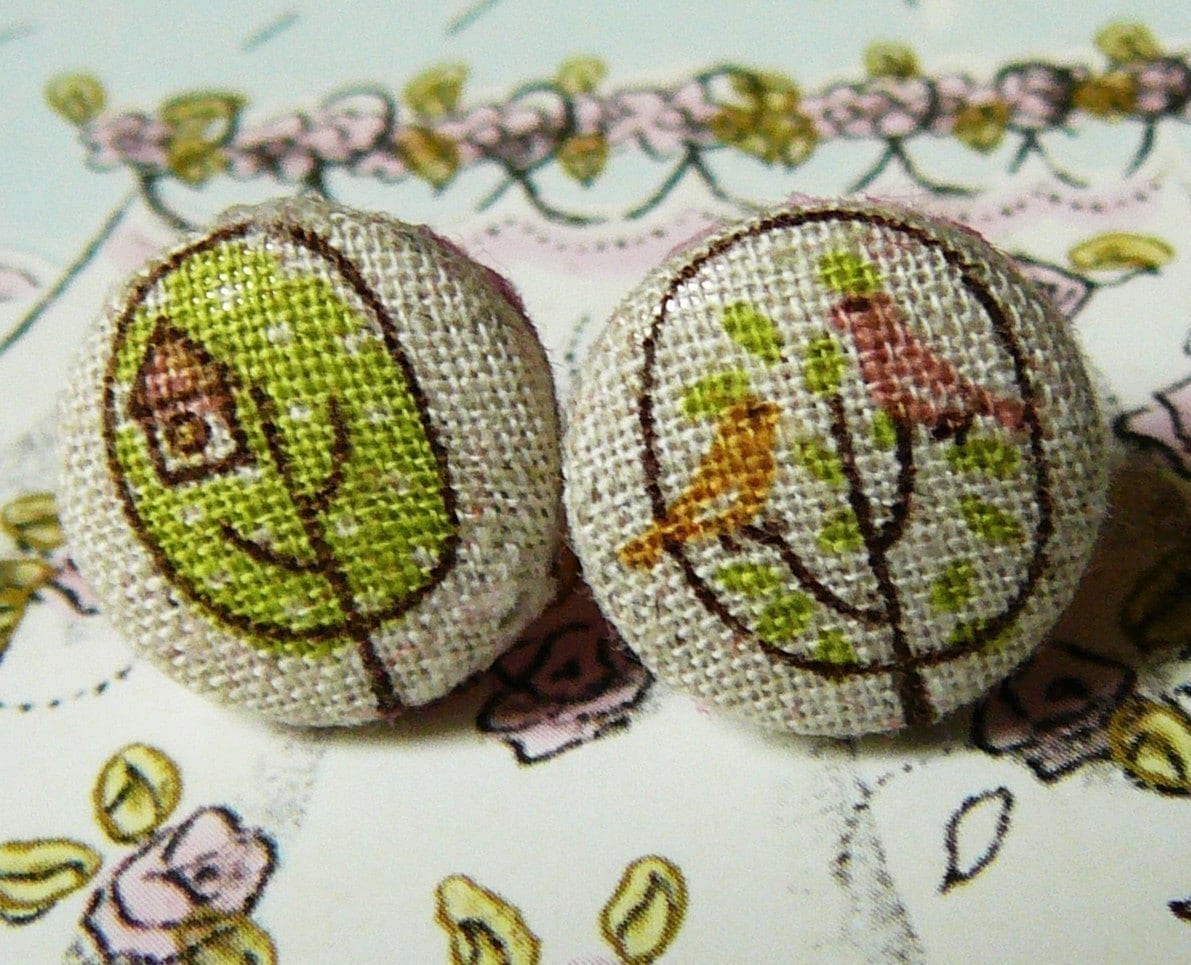
http://www.etsy.com/people/Fluffington?ref=ls_profile - This has THE funkiest earrings and cuff links! My faves were these robot cuff links and little bird earrings, so cute!

Now which to choose?

p.s. i also love tulips! ;)

Friday 28 January 2011

Easy peasy memory canvas

When my son was born we got loads of really lovely cards and then two weeks later it was my daughters second birthday and we got lots more lovely cards. I can be quite sentimental and didn't want to just throw them all away, but at the same time I didn't have the space to store all those cards. The solution? I decided to make a small canvas for each of their bedrooms encorporating the cards, and it is SO easy too! Score! (as my two year old would say!)

I started out with a canvas about 6 x 6 inches and painted a co-ordinating colour for their rooms. Just so you know, I used my daughter's non toxic play paint for hers and left over wall paint for my son's and they both look good and have held up well. Then while it was drying I punched out hearts from the cards, some plain and some patterned, then laid them out in a square shape till I was happy with the colour combinations and size. When the paint was really dry (overnight was long enough for me) I put a small foam pad behind each heart and stuck it on how I wanted. 


For mine I wanted it central and even so I measured the mid point and worked the hearts outwards so they were 2cm away from each other. (Middle line first, and then the two above, then the two below.) But I think it would look nice as a heart shape or a few lines of them horrizontally or vertically. Also any punch would work pretty well to go with your theme, a star or butterfly or car, use whatever you have!

Then hang on your kids walls and look at how pretty and simple they are!


NOTE: Do not lay your hearts out for each canvas exactly how you want them the night before and not expect your small child to think they are confetti. She/he will throw them all over her breakfast/the kitchen floor. Not that I made that mistake of course. :)

Wednesday 26 January 2011

Feeding the ducks

Went to feed the ducks the other day.(Yes the water is still frozen! That's hard core mothering right there!)

Though I use the phrase 'feeding the ducks loosely'.

Mmmnnn...stale bread never tasted so good!

Anyway, I want to know what ideas you have to do with kids. Feeding ducks, park, library or baking are becoming the standard procedure. What does everyone else do? My problem is something that they can both enjoy and I no longer have a car! :( Let me know your thoughts!

Bauble wreath

I know, I know we've only just had Christmas! But everything is really reduced right now so go out and buy some baubles for this really simple but gorgeous project.


(sorry about the poor quality photo, I did this after the kids were in bed!)

First you need a wire coat hanger and about 50 baubles of different sizes, I got mine in Wilkinsons for about £5 before christmas. Untwirl (if thats a real word) the coat hanger and bend it into a kind of open circular shape, it doesn't matter if it's not perfect, and bend over one end so it's in a closed up loop. Then start threading on your baubles. I just did mine randomly and it turned out just how I wanted.


To finish off I just threaded the open end of hanger through the loop end and then made a loop out of that and to close it up. To hang I just tied a ribon around the loop, which also hid the closure.


Ah so pretty! Please note this photo was also taken before Ethan had his whetabix :( poor runner.

Have good fun making it (and resisting putting up till christmas)!

Saturday 22 January 2011

Scrapbooking

I love scrapbooking! Mostly because it's a great opportunity to look at really cute pictures of my children, plus I have rose tinted glasses on because they are always tucked snugly in bed and there's no sign of the tantrums, messes and general chaos that usually surrounds them! (which you can usually crop out of photos!)

I have little experience with scrapbooking compared to many but I'd like to share a couple of ideas that have worked for me.

In my pages I try to include as many photos as possible, but sometimes it can look a little disjointed or crowded, so for this one I used a rounded corner punch for the scrapbook paper and tied in the photos and the journalling by making the corresponding photo corners rounded too.

For our wedding page there were so many photos and people I wanted to include but knew I could never fit them all in, so when I saw the beginning photo in the prints pack (the one with all the mini images of all the photos) I thought to make a border using all those pictures. So I ended up with a cleaner page but still included all my pictures. Plus I think its a cool effect!


Here's a closer up shot. (sorry about the photo quality, I am currently without a camera and am using my phone. Our camera isn't broken, just without batteries and I refuse to buy more when I know I have about 20 rechargables hidden in different locations in the house!)

A last idea about using as many pictures in a scrapbooking page:


Just do a huge collage! :) This was of our first holiday as a family of three and I had so many pictures, so i cut them as close to the shot as I could and arranged them on the page and stuck down. Then a simple title just finishes it off. As an added bonus, when my daughter sees this page we turn it into a fun 'wheres the...' game. (Where's daddy? Where's the big stick?)

Hope this maybe gave you some new ideas. I have had a LOT of trial and error!


Thursday 20 January 2011

Individual cheesecakes. Yum!


I made these for my Dad's birthday and they're so easy but look great. The cases are made of chocolate which is done by just melting some dark or milk chocolate and spreading it around the inside of some silicone bun/muffin cases (depending how big you want your portions!). Chill in the fridge for about an hour, then they should come out really easily by peeling away the silicone case. While they are cooling make up your chocolate cheesecake filling and then scoop into the chocolate cases. Decorate as you wish! The only thing to remember is the chocolate cases melt quickly when handling so work quick or just take a couple out of the fridge at a time and put back in when you're done!

This got a lot of oohs and ahs when I got it out but was really quite simple! My two year old helped me with the cases! I've also filled them with brownie pieces and topped with strawberries, whipped cream would be good with them too. Get creative and enjoy!

Brand new shiny blog!

Hi! I'm Rhiannon from North Yorkshire, England and I love making things. My husband says I'm flakey, but in a good way. But he has to say that last bit right? I just think that I like lots of different things. An 'appreciation of the crafts'. We live in a rented house so there are limits of things I can do to decorate but I am trying all sorts of new things to turn a rented house into our home. I would love your advice and opinions, I am very new to most of these things and have already had so much inspiration from other blogs I've read. I hope I can give some of you some ideas or courage to try something different (after all if I can guess my way through it you can too!), plus I hope to get some help from all of you, there is so much knowledge out there and I love learning, especially if the end result is something pretty!


Please bear with me while I get to grips with the blog :) Photos and projects to come soon!