Saturday, 12 November 2011

Experiences Advent Calendar

I don't know about you but now I'm a mum I am really aware of the sometimes dominant commercial side of Christmas. My three-year-old daughter started telling me in September what she wanted from Santa. 


(Um, maybe this is why?)

So although I still want her to be excited about her gifts I more want to make gifts for her and her brother, and also I want them to realise that Christmas is more about giving, remembering the reason for Christmas and spending time as a family.

So I thought I'd do an advent  calendar that was more to do with experiences over Christmas time rather than treats. So when a little while ago I saw this advent calendar on Pinterest;

Pinned Image

I knew this would be perfect for it and I thought, "I could totally make that with a bit of paint and some pegs!"

So I did.


And seriously, it's as easy as it looks! 

Get yourself some of these:


A piece of thin wood (sorry no idea what it's called, some sort of board? I just picked up what looked right off the shelf and the very patient wood cutter man cut it down for me.), mine was about 24" by 7"

Hot glue gun

Sharpies or paint pens for the numbers

Paint and/or scrapbook paper for the peg fronts (I used Mod Podge to adhere the papers)

Pegs


First, measure up your board and work out your spacing. Now this is important:


Lay out your pegs and count to make sure you have 24.


Not 22. But you wouldn't make that mistake, and if you did you would probably take artsy type photos so no one would notice.


Not this kind.


Anyway, after laying out your 24 pegs evenly, or not if you wanted a more random look, start hot gluing down your pegs.


Then paint and decorate the front of your pegs. Paint, glitter, scrapbook paper. Whatever takes your fancy.


The polka dot one was done with the rubber end of a pencil.

When they're all dry write on your numbers and admire. I love how easy that was!


Now you can write out your experiences on some card. Here's some of my own ideas to get you started:

But gifts for a project shoe box appeal or other Christmas drive
Make a tree ornament
Write a letter to Santa
Decorate the tree
Make Christmas pudding
Go for a winter walk
Watch a Christmas DVD
Give out Christmas cards
Buy a present for Daddy/Mummy
Unwrap a Christmas book to read
Play at Grandma's house
Make a treat for some family/friends
Make a snowman
Read the Christmas story
Take a hamper to a family

I love how easy this personalises. You can include all of your family traditions and swap them around easily if it snows on December 2nd or a Christmas party is happening on a specific date.

And for those of you with a child like mine who already asked me where the chocolate is you can always wrap up a few treats or even have a little treat hung on to go with each day and peg them on!

Super easy and really quick! 


So what's your favourite Christmas activities?


UPDATED 


It's now got all the experiences inside!


Think I'm more excited than my kids to start it! 


Wednesday, 9 November 2011

Two ingredient chocolate truffles

I love how easy these are! You simply melt together two parts dark chocolate to one part double cream. To make these I used 300g of chocolate and 200g/ml of double cream.

Melt together over a pan of simmering water and set in a tray or tin (it could be anything really, it's just quicker in something where it's more spread out.).


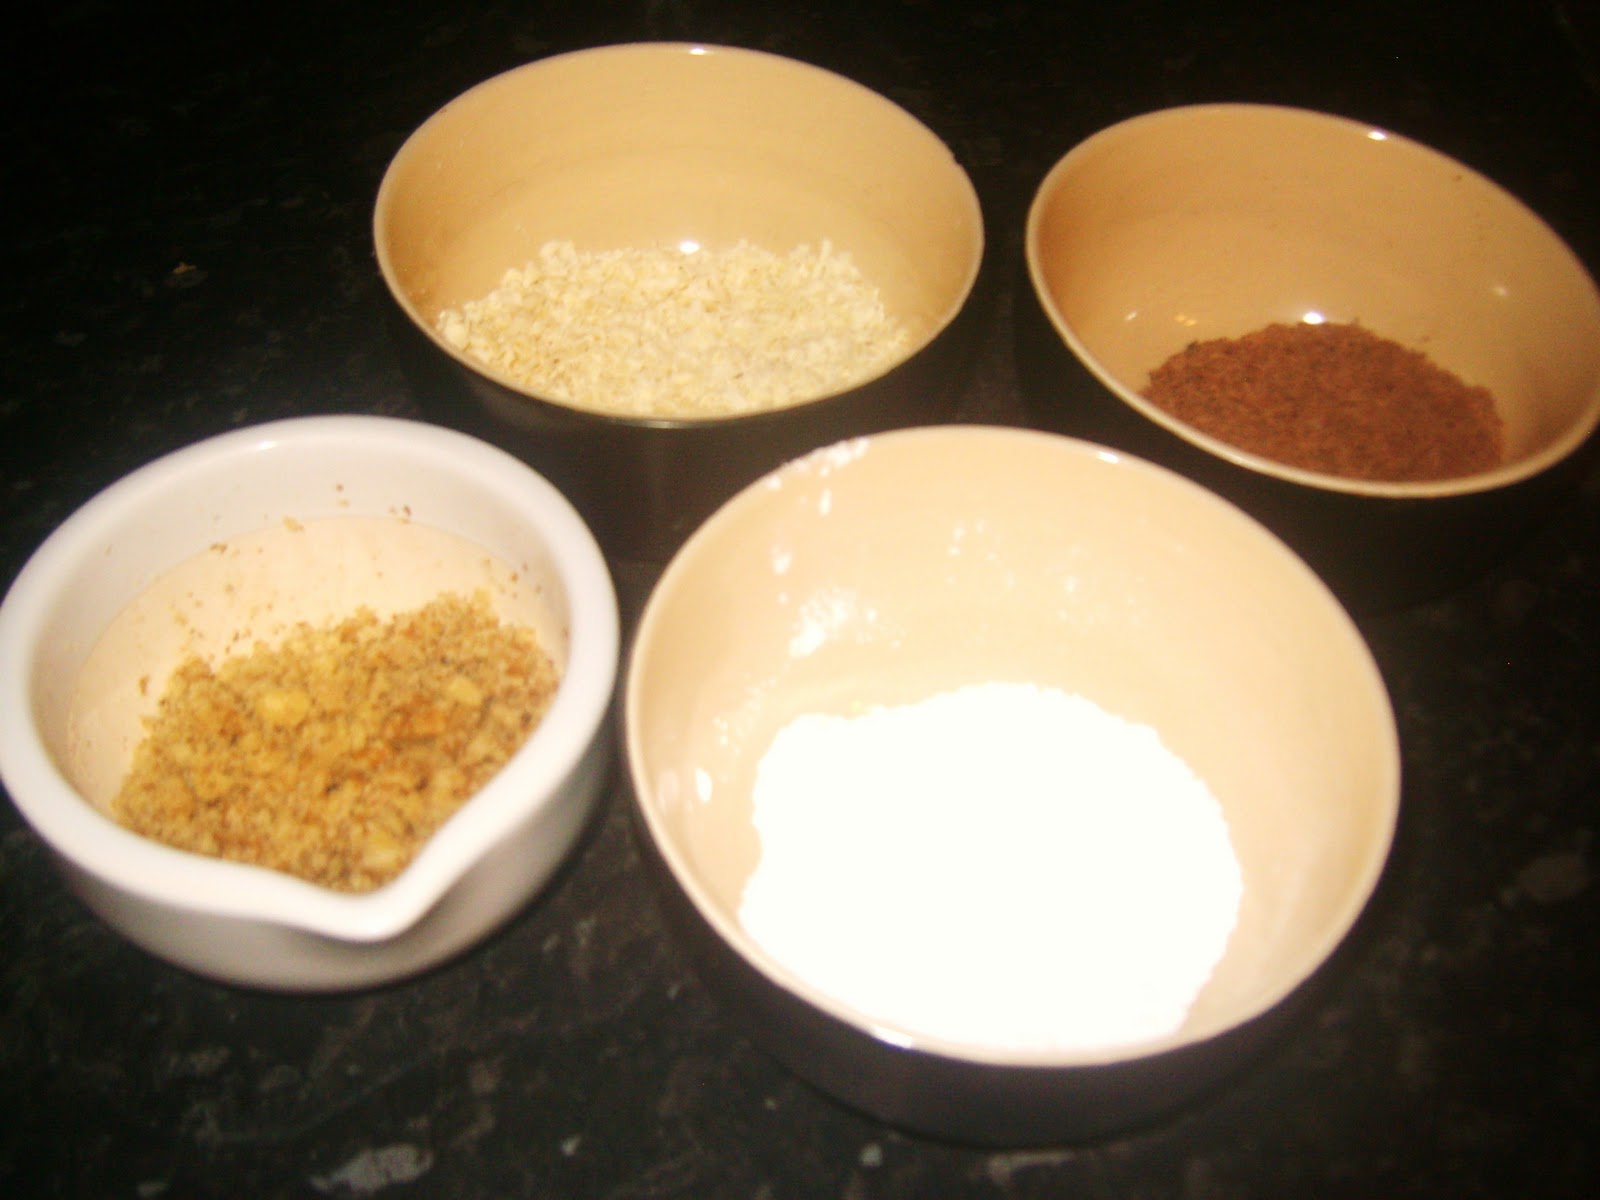
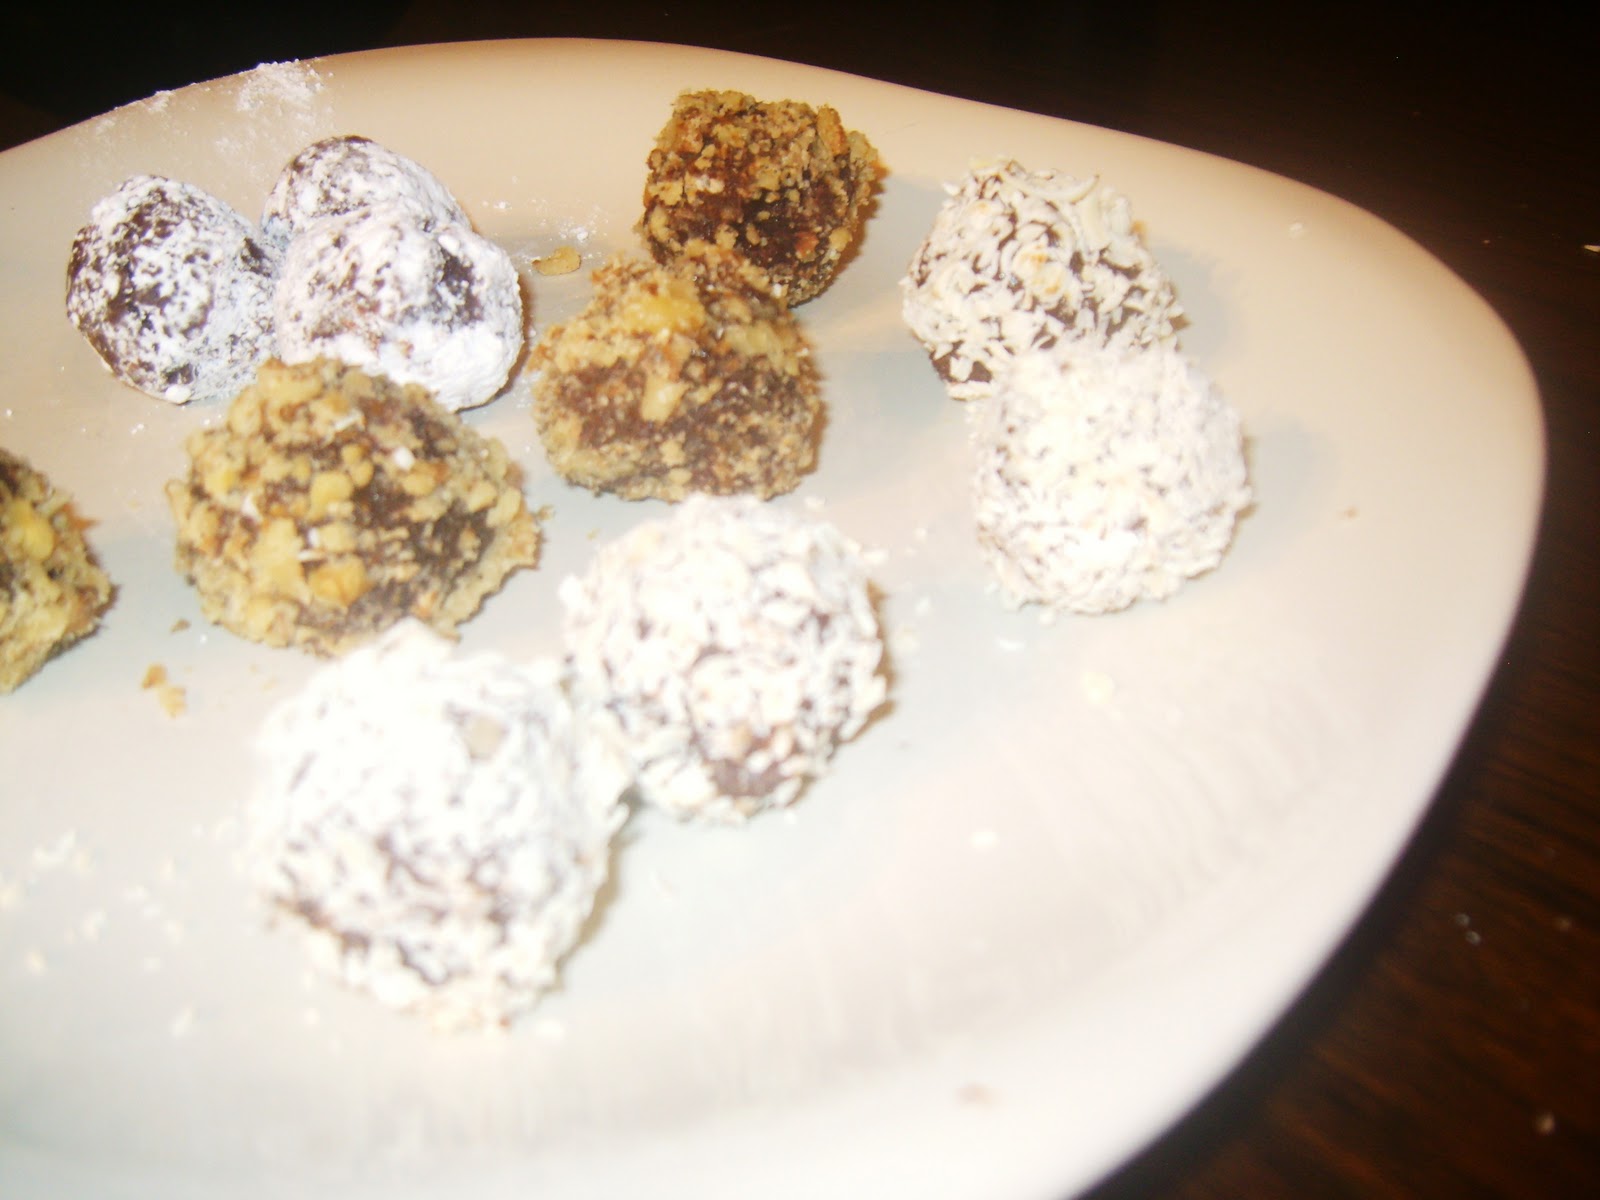
Then get whatever you want to roll them in ready, below I have grated dark chocolate, chopped nuts, grated white chocolate and icing sugar. But I've also used cocoa powder and even dipped them in another white or milk chocolate truffle sauce and let set. 

I think hundreds and thousands would be great for kids to dip too.


Then scoop out a spoonful of the mixture, roll it into the ball and cover it in the different toppings. (I don't have a picture of the rolling and dipping as it's pretty messy!)


Now normally I use this recipe for Christmas gifts or a treat for someone's birthday, but today I had it as desert after dinner and the kids LOVED rolling and dipping their own. It was SO messy but so much fun too. 

I don't know why I didn't think of it before! Chocolate and mess? Perfect for kids :)

Wish I had pictures, but I was rushing out the door for work as they were having them!


You may notice that there's none of the dark chocolate ones, that's because Ethan was 'washing up' as I was making dinner and with his super awesome reach grabbed the bowl with grated chocolate in and washed it for me. :( 

I usually package these in little handmade boxes.


They're so rich that less is more with these.

And I think this is so cute (if maybe a little disappointing?).


The boxes are just made with a square of thin card or sturdy paper. I'll do a tutorial soon.

So what toppings would you use?

Sunday, 6 November 2011

One Day Monday - Organisation

So after my recent organising and purging I decided to share some of my favourite clutter busting a prettifying solutions I've found. And please feel free to share your own too!

So I love this one from Dollar Store Crafts:


Not just because it's pretty, But because it's also functional and so cheap! It's just painted baking tins! So clever. This whole cheap organising has me looking at everything in a new way!

Spice containers used to hold office supplies

I know magnetic spice jars aren't a new idea, but I love how pretty they can be, plus it can get so much clutter off your desk top. And I don't know about you but if I can't see something I have I forget I have it and don't use it. Found here.

Pinned Image

And I just love everything about this room! Pretty? Uh yes! Functional? Of course? And totally makes life easier. And it's from the amazing Jen at I heart organizing. She is so clever! 

Pinned Image

And my husband would love if I did this one, we have so many batteries and can never find them! Often, (awesome parenting alert) it's because Ethan's playing with them. What is it with kids and batteries? He's that obsessed that before he was one he had learnt how to hit the remote so the batteries would fall out. 

Needless to say neither of the backs of out remotes work any more. Any one got a solution for that? And he can find them in any given location. Crawling down the hallway at my mum's last week and all the sudden there's one in his hands. 


Didn't even surprise me. Or him when I removed it. It's kind of our thing now. 

He finds/does something dangerous, I stop it. I know I'm a kill joy.

Anyway this idea is from BHG.com.

So share, what works best for you? How do you deal with junk drawers and cluttered work tops? How do you store your kids toys? And more importantly does it stay that way? 

And if it does please share your secrets! :)

Thursday, 3 November 2011

How to make an image a link (the cheats way)

I just recently re-did my tutorials page and was thinking maybe I should share a little of what I've learnt so you don't have to do it the hard way! It was a LOT of trial and error (and asking my husband for help) and I am by no means an expert, so there may be easier ways to do this or different better ways. I have no idea, but this worked for me and I'm pretty pleased with the results.

I'll just do the links today and the images and layout another time so you don't get information overload!

So here's a screen capture of my tutorials page:


The  cheat's way to make an image a link

And when I tell you you'll be like "Of course! I knew how to do that!". At least that's what I thought when my knowledgeable hubs showed me!

So first insert your image:


Then click the link button to remove the link just going to the larger image of itself.


Then click on the image again and click the link button again to put in your link URL (the web address of the page you want your image to go to).


Click 'Ok' and your done!

What did I tell you! SO easy, plus I bet you've done it a ton of times for text links. It works the same way, just you have to remove the link that is already there!

I'll show you how I got the writing on the images and made them all the same size in another post, as this one is already quite picture heavy! :) 

Any questions ask away! And if you give it a go and it works let me know! (my husband will be so proud!)