First I have to apologise for taking a break from blogging and not mentioning it. I really had to take a break from everything non-essential in the run up to school starting and summer ending. Including blogging, which helps to keep me sane!
Of course I have still been crafting. If not I would have been fully certified. And I'm properly back now, with lots to photograph and share!
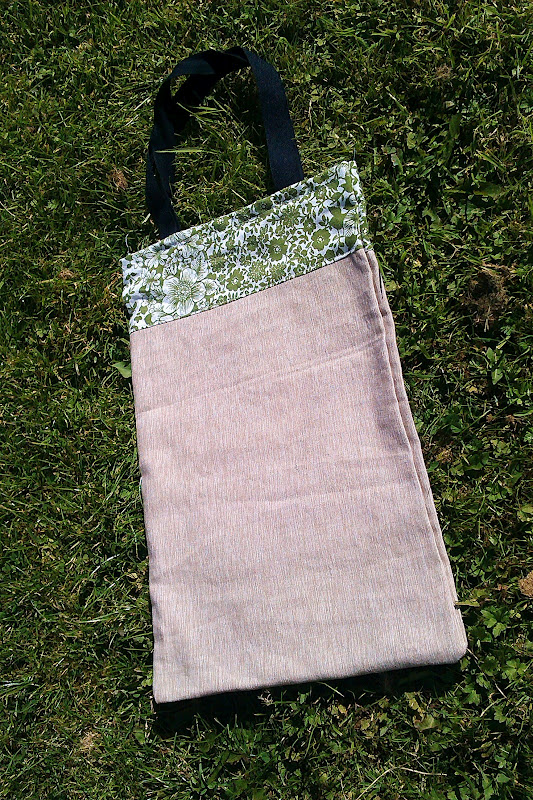
Anyway, I stash busted a bit, okay a LOT, with these. The main fabric was a curtain my friend gave me, and both the paterned pieces were scraps. The only thing I bought were the black handles, the grey ones were actually ties on a top...upcycling too far?
I did the bags like a production line, and over a few days. While my kids were playing in the back garden I cut the rectangle for the bags and any embellishments. For the bow bag I cut a big rectangle just longer than the width of the bag, and a much smaller rectangle. For the ruffle ones a long width of the same fabric.
For the rest I just laid with them a fabric piece for the applique, trim or, for the one with the band of green floral, I made the width the same as the bag's width.
That night I sewed on all the embellishments, the pom pom trim, ruffles (I did mine by pinning the start and end in a straight line then pushing it under the foot as I was sewing. It's not perfect, but it works!), bow (this is a great tutorial, though I just used one piece for the main part and sewed into a tube.), and reverse applique. It took me two to three hours, but I got in my groove and it went really quick. I even started sewing some of the bags together!
Then to make the bags I folded the rectangle in half, sewed up the edges, back stitching on each end, and zig zag stitching the raw edge, then folding the top edge over twice and ironing and stitching. This took me three hourish sessions at the sewing machine.
Then in another session I sewed on all the handles, zig zagged the edges of the straps then pinned and double sewed (?!) them along the hem.
Done! Great thing to make in bulk. I loved designing each bag differently and imagining which female relative will get which at Christmas. I already gave one away as a birthday gift, before getting a picture sadly, but it was three reverse applique hearts in the green fabric.
Oh, and I'm keeping the bow one. I accidently made one extra :)