
Those of you who have been reading a while may remember Squog. He's a soft toy square dog I made for my niece.
Well when my friend (who is a proper sewer) saw it she asked if she could steal the idea to make one of her own. Of course I didn't mind, as I'd seen the idea before on he internet anyway and I was honestly quite flattered!
So I decided to steal her version of my knock off of someone else's idea...
AKA how to get rid of fabric and ribbon scraps. Plus a really quick project to do for a last minute gift. I made one this afternoon for Ethan with Izzy's help and it took me about an hour. But could be quicker if you were uninterrupted.

Clearly I need to do this project!

Cut four squares the same size, and two that are 2cm longer, the pieces you want to be the side pieces where you'll have the 'wings'. Cut about two thirds of the way up on both.


Applique the face on the front piece with a backstitch.

Then lay the 'face' square on top of a wing square right sides together and sew.

Lay the other wing square right sides together on top of the 'face' square and sew.

Do the same for the back piece.

Place the top square on top of the far left piece and sew.


You now have your net (high school maths anyone? This is about as far as I got!)
Now you're going to start sewing it into a cube inside out. Now at this point would have been the right time to pin in your ribbons for the ears and feet, but I forgot till I got to the feet. But they should look like this:

Obviously I had to unpick the top and then sew in the ears!

Place the right side of the top piece onto the top of your face piece, hold in place and sew.

Then do the same for all the sides around the top piece.

And the same for the around the bottom piece. Except for the last side where you should leave a couple of inches open, back stitching around the opening.
Clip the corners and turn right side out pushing out the corners with a blunt pencil or crochet hook. Whatever you have lying around.
Stuff, whipstitch the opening closed and you're done!



Anyone else panicking and making/buying more presents when they thought they were done? Just me? Crazy I know!
Plus it is my husband's birthday today! And my sister's tomorrow! I did cave and buy in his cake this year, which I am sure I should not feel bad for!
So I decided to steal her version of my knock off of someone else's idea...
AKA how to get rid of fabric and ribbon scraps. Plus a really quick project to do for a last minute gift. I made one this afternoon for Ethan with Izzy's help and it took me about an hour. But could be quicker if you were uninterrupted.

Clearly I need to do this project!

Cut four squares the same size, and two that are 2cm longer, the pieces you want to be the side pieces where you'll have the 'wings'. Cut about two thirds of the way up on both.


Pin your ribbons into place on both pieces.
Bit of a tangent; I wanted mine to be the same on both sides so did them the same for each piece. But you need to do one the mirror image of the other so they'll look the same when sewn together. NOT like I did here. Though I think it still looks nice this way.
Back to the tutorial.

Sew in place and backstitch too. Just to make sure those ribbons aren't going anywhere.

They will both look something like this.

Applique the face on the front piece with a backstitch.

Then lay the 'face' square on top of a wing square right sides together and sew.

Lay the other wing square right sides together on top of the 'face' square and sew.

Do the same for the back piece.


And do the same with the bottom piece.

Now you're going to start sewing it into a cube inside out. Now at this point would have been the right time to pin in your ribbons for the ears and feet, but I forgot till I got to the feet. But they should look like this:

Obviously I had to unpick the top and then sew in the ears!

Place the right side of the top piece onto the top of your face piece, hold in place and sew.

Then do the same for all the sides around the top piece.
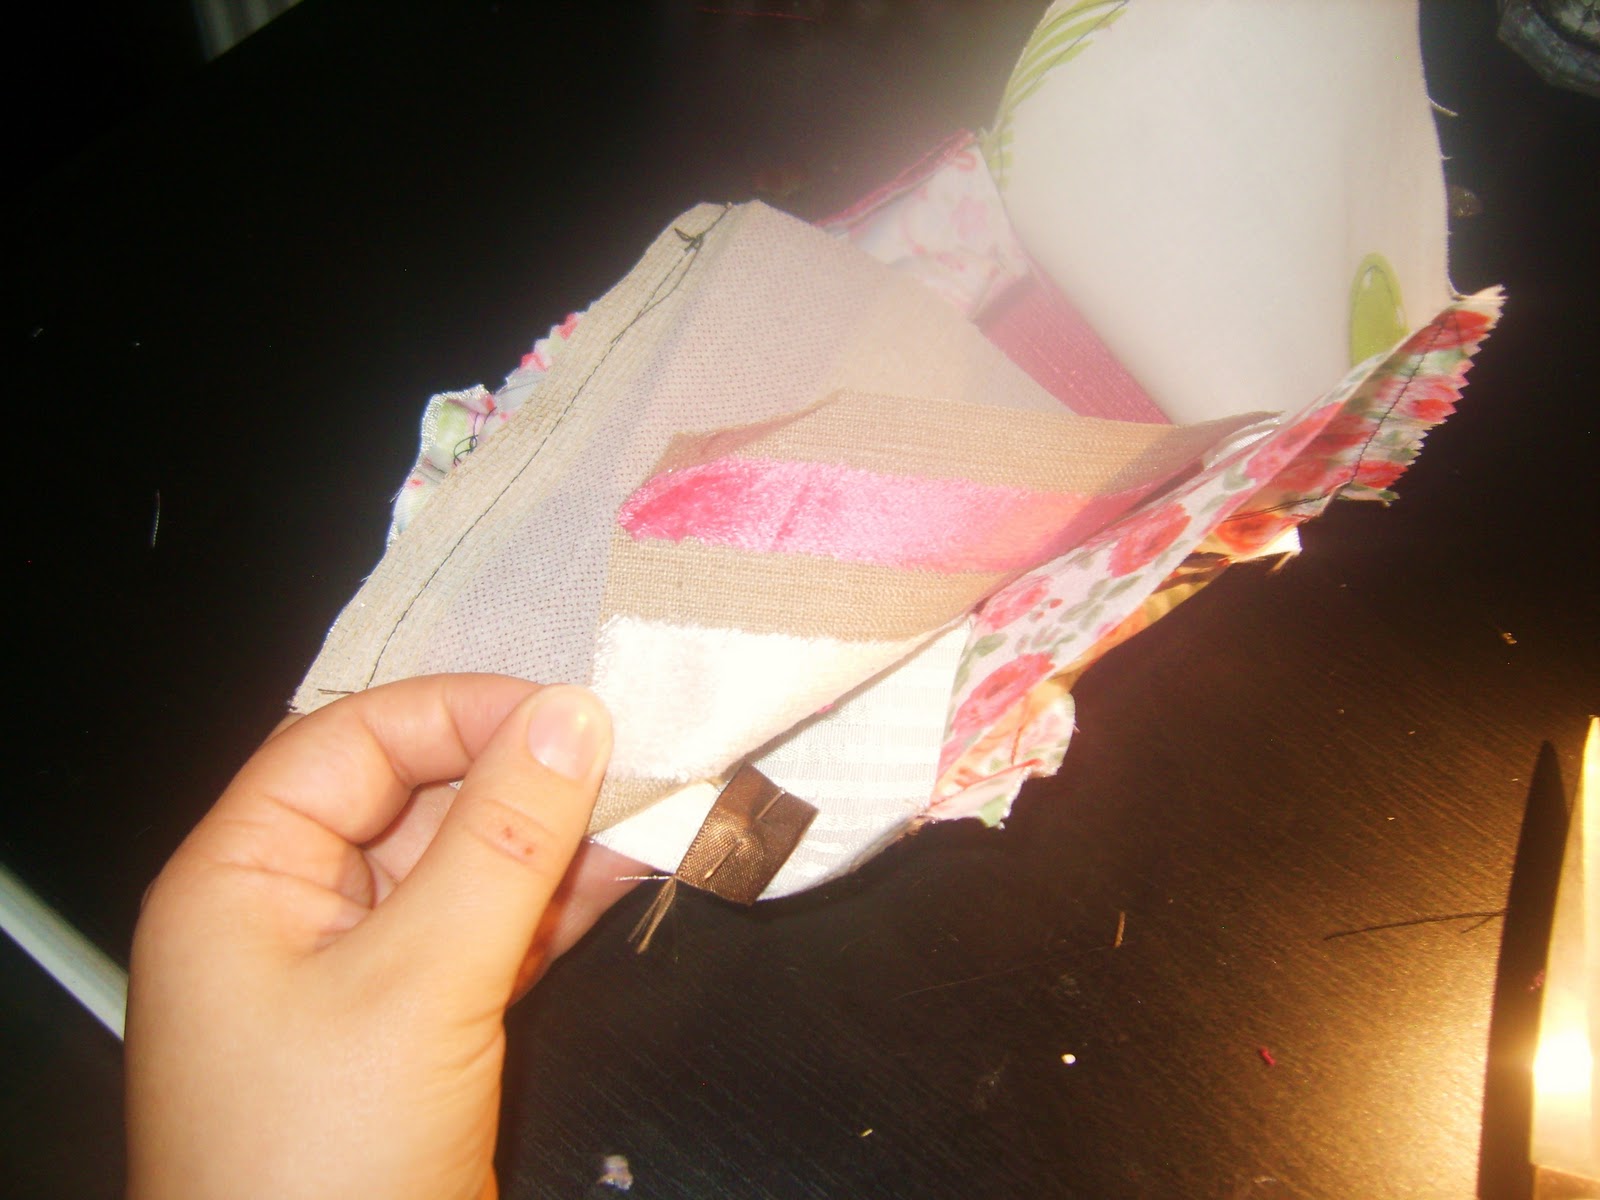
And the same for the around the bottom piece. Except for the last side where you should leave a couple of inches open, back stitching around the opening.
Clip the corners and turn right side out pushing out the corners with a blunt pencil or crochet hook. Whatever you have lying around.
Stuff, whipstitch the opening closed and you're done!


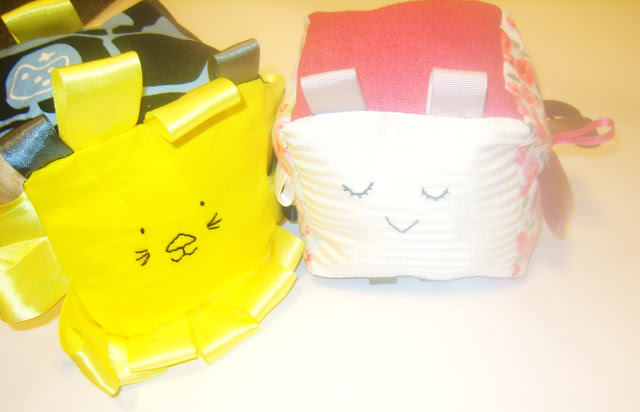
And the lion version for Ethan?

So cute together too!

Perfect for a baby, which was the intention for the owl, but Izzy saw her and was smitten! So apparently great for three-year-olds too! You could also add a bell, which I tried to but hadn't made my hole big enough and was short on time!

Anyone else panicking and making/buying more presents when they thought they were done? Just me? Crazy I know!
Plus it is my husband's birthday today! And my sister's tomorrow! I did cave and buy in his cake this year, which I am sure I should not feel bad for!


